|
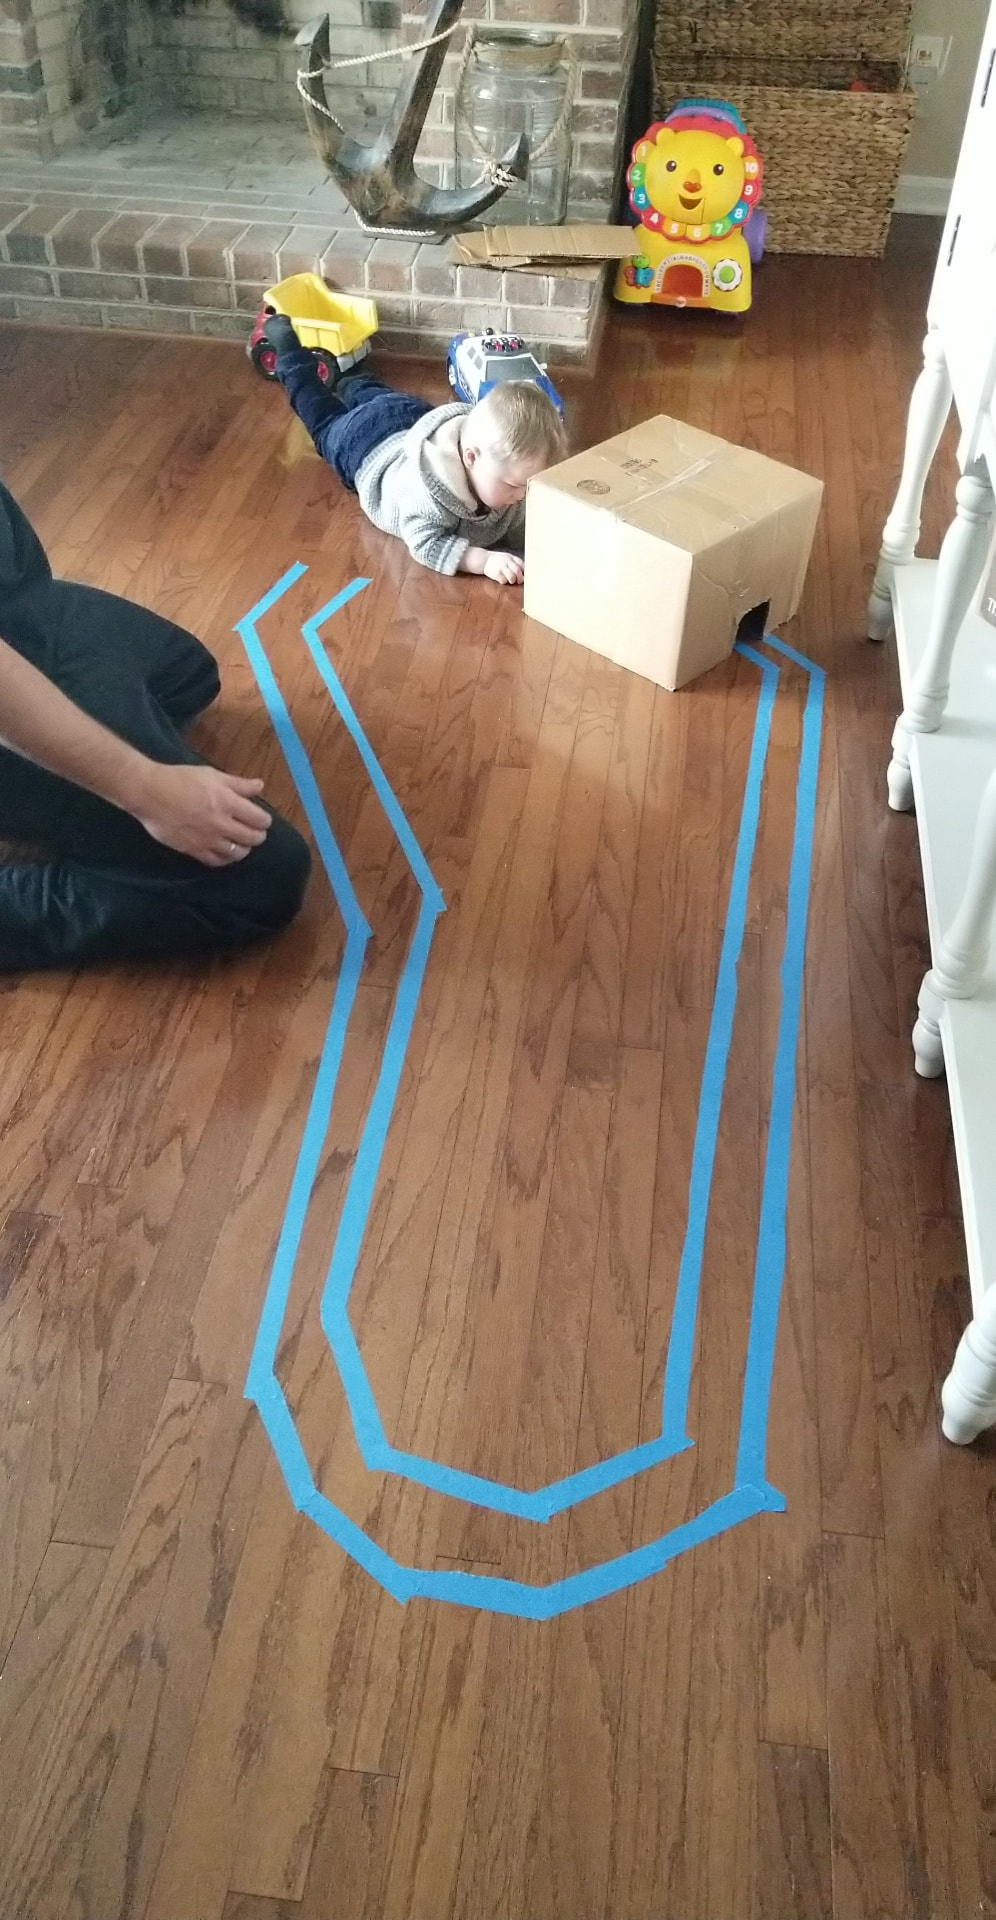
On one of our trips to the beach house we brought down a bunch of toys that Asher either has duplicates of, or just does not play with as much. It's so nice being able to bring toys there and leave them there. Not having to pack up the whole house everytime is wonderful! Anyway, we brought a lot of his cars down. He seemed to be getting "bored". At home he has different tracks for his cars.
Here's a simple "race track" for cars when you are unable to bring the whole house! We found some painter's tape in the garage and went to town building Asher a track to run his cars on. He loved it! It kept him occupied for awhile. Also what is great about painter's tape is that it comes up easily off the floor. It did not ruin the floors! 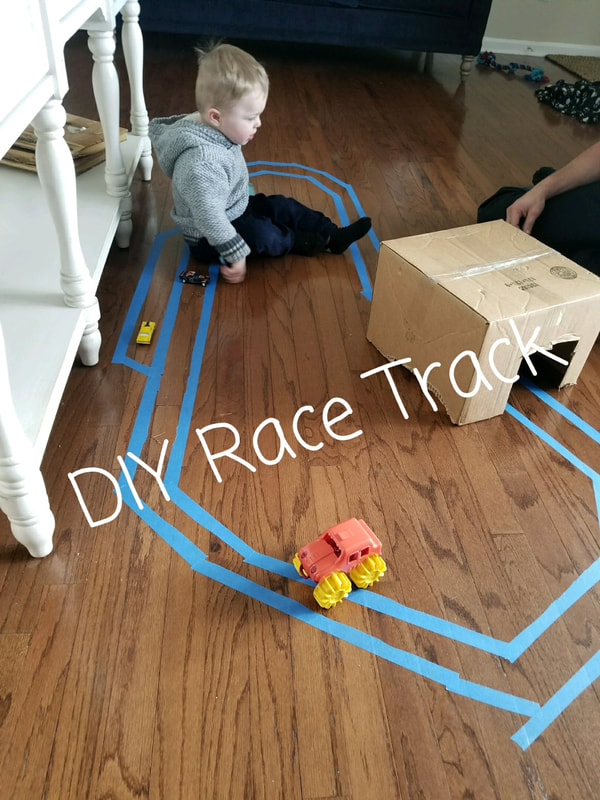

0 Comments
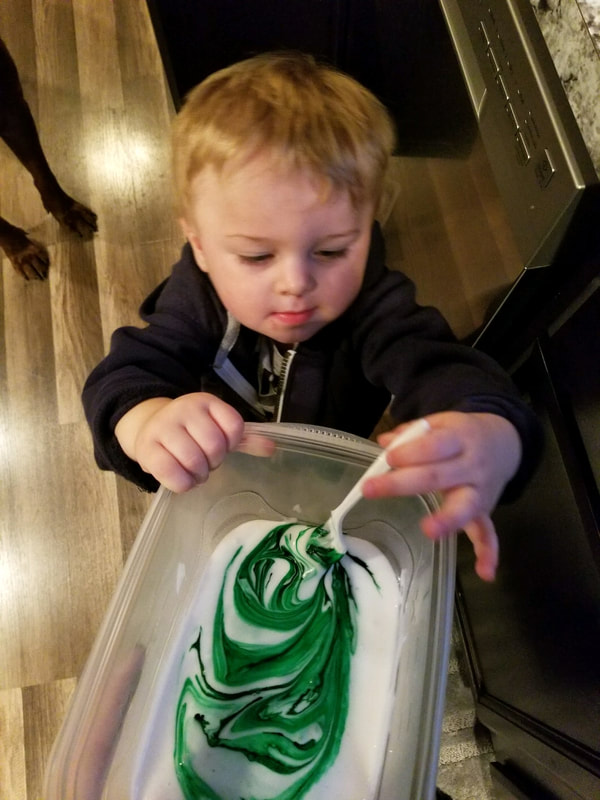
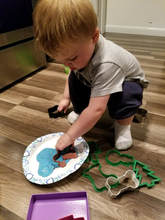
Asher loves bath time! I made him some finger paint that he could play with in the tub. We have a very old porcelain tub. I swear it is original from our house being built in 1962! Anyways, I get really concerned with things they have out now a days for "coloring" in the tub. Our tub takes a lot of time to clean and I have to use a pumus stone on tough stains. I figured if I could make it myself I would feel better knowing what was actually in it.
Well this did NOT leave any stains! I was so happy! Asher's fingers were NOT stained either. This is very simple to make. I also was teaching Asher colors with the different colors he was painting with. Ingredients: Barbasol white saving cream Food coloring Directions: Mix both together! 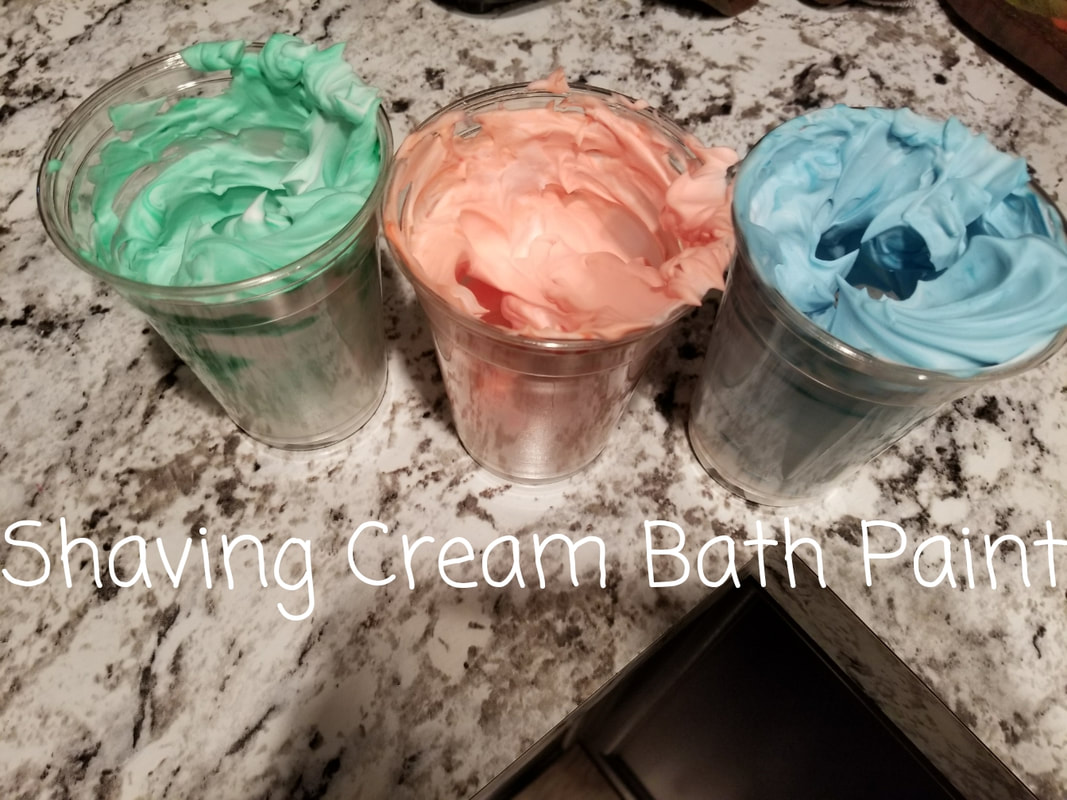
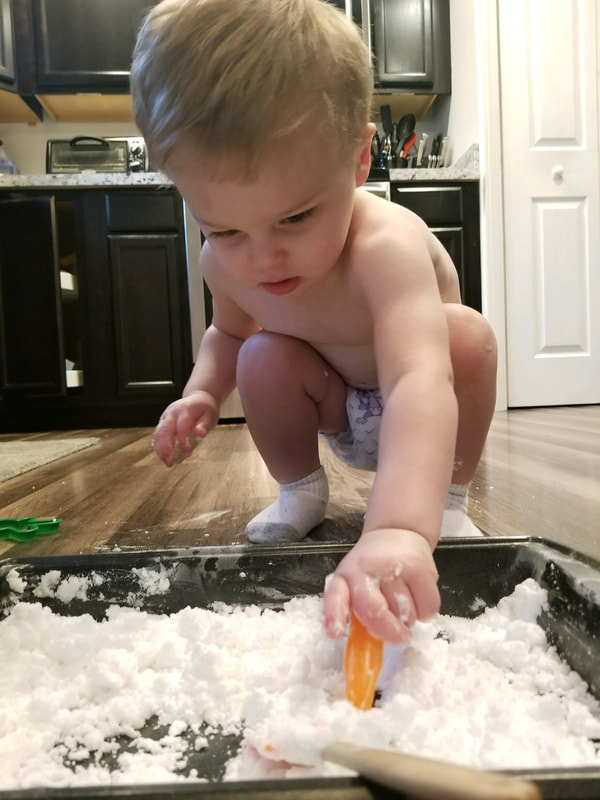
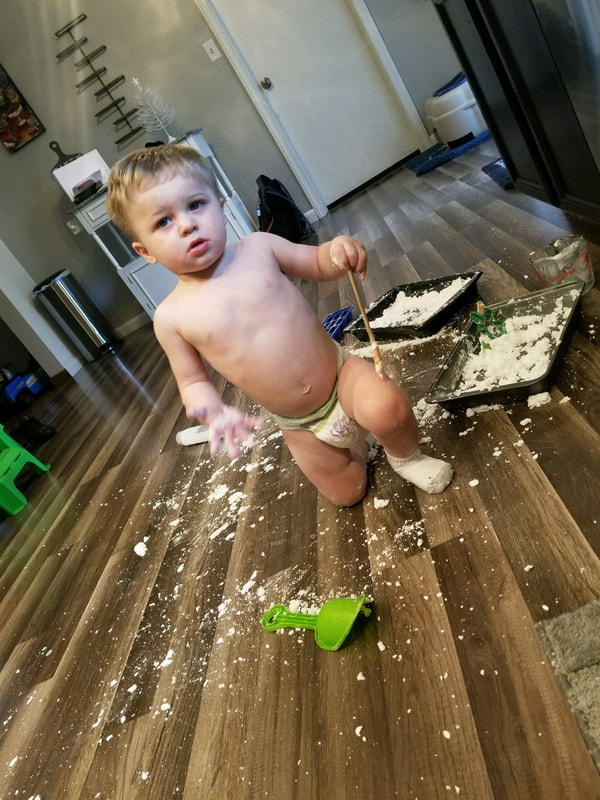
Since it is so cold out, I thought this was a good activity to finally post! If it's going to be this cold there needs to aleast be snow!
I made something similair to this before. It was the Gingerbread moon sand. Honestly, this made a mess as well. There I am again looking at pictures of toddlers playing nicley with their snow in a container. Reality is my child other there throwing the snow across the kitchen! He had a blast and that's all I care about. Messes can always be cleaned up! Enjoy! Ingredients: 3 Cups Baking Soda 1/2 Cup Conditioner ( I used Suave, coconut scent. I reccommend using a conditioner that is white in color) Directions: Mix both together and you have snow =] 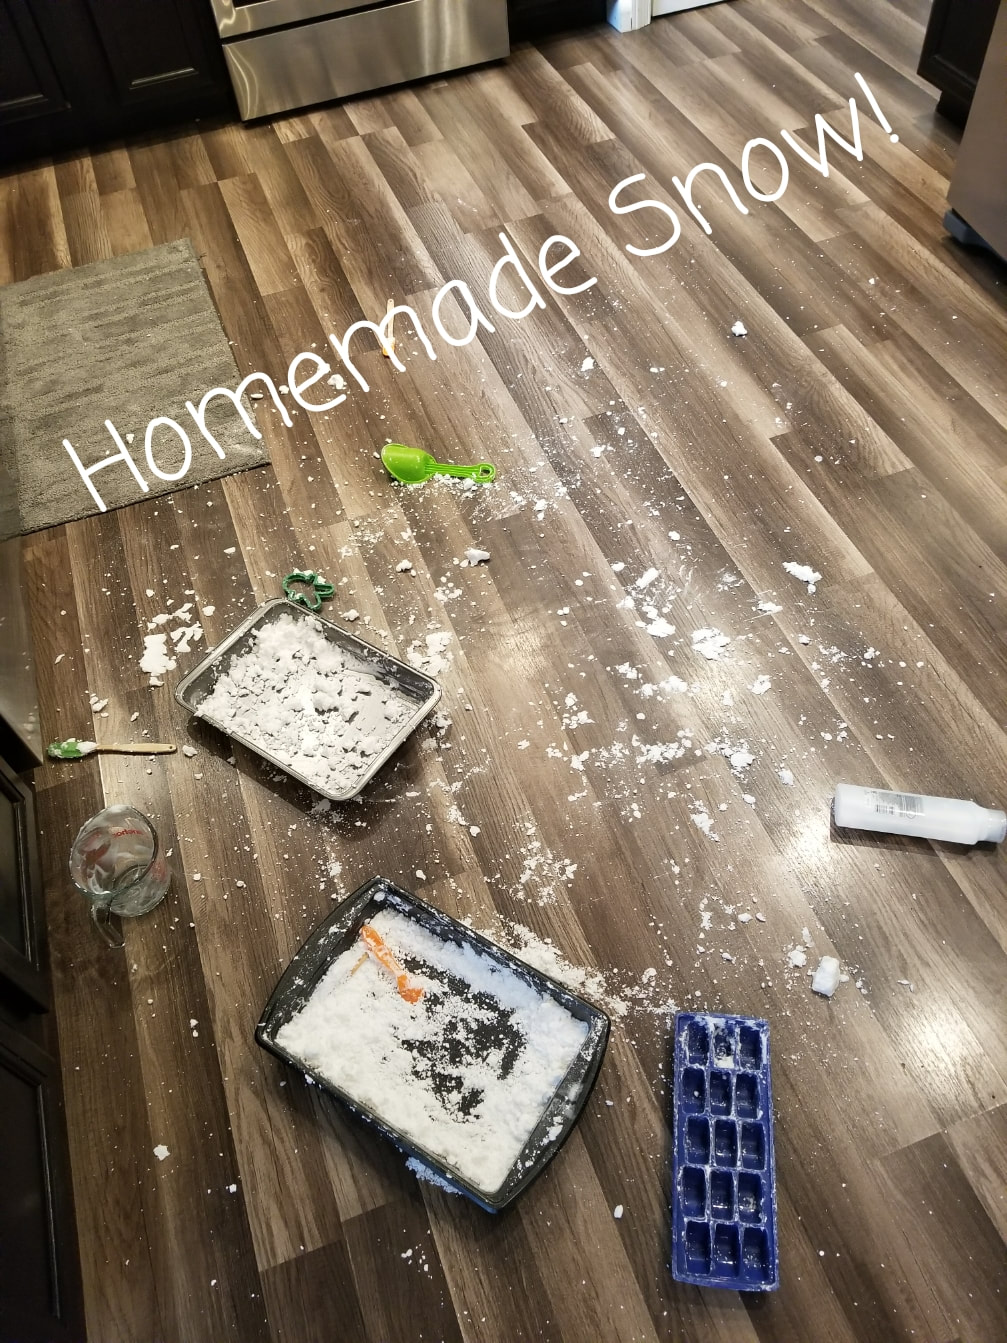
Hey Everyone! Remember if you like my blog to save it somewhere in your favorites so you can easily access it for great toddler activities and recipes. Also most of my posts have the Pinterest "save" button you can click to add to your Pinterest. Or you can follow me on Pinterest and I save all my post on there as well!
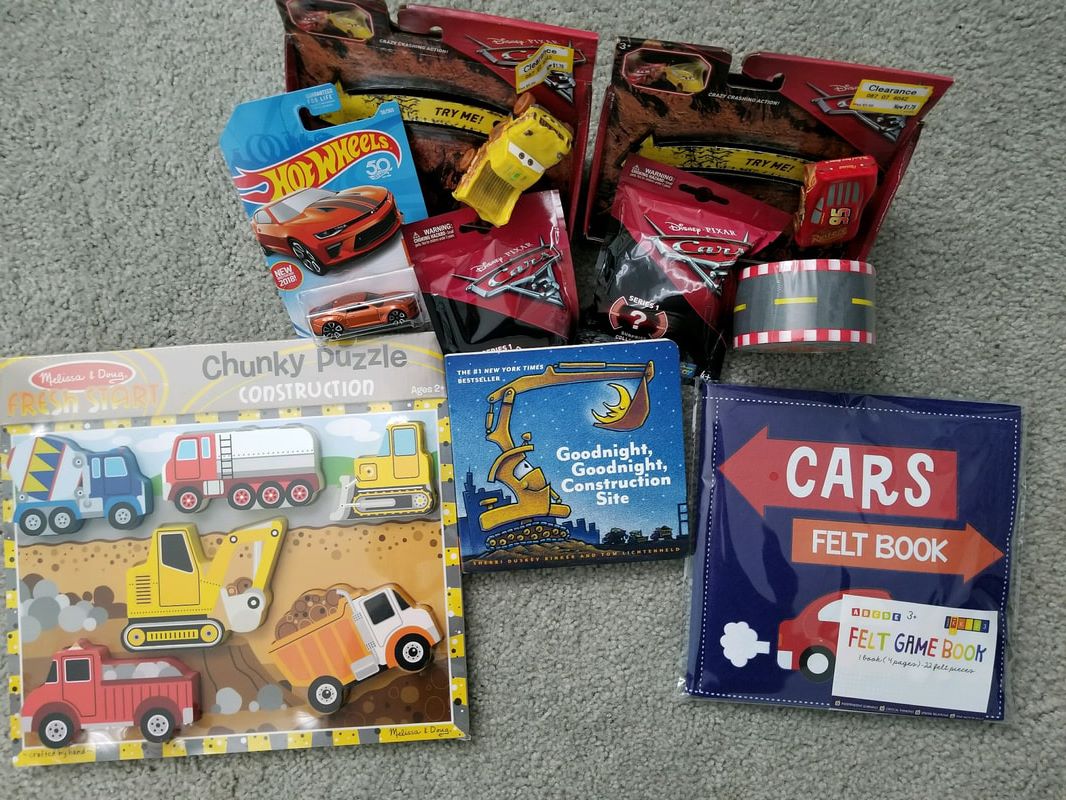
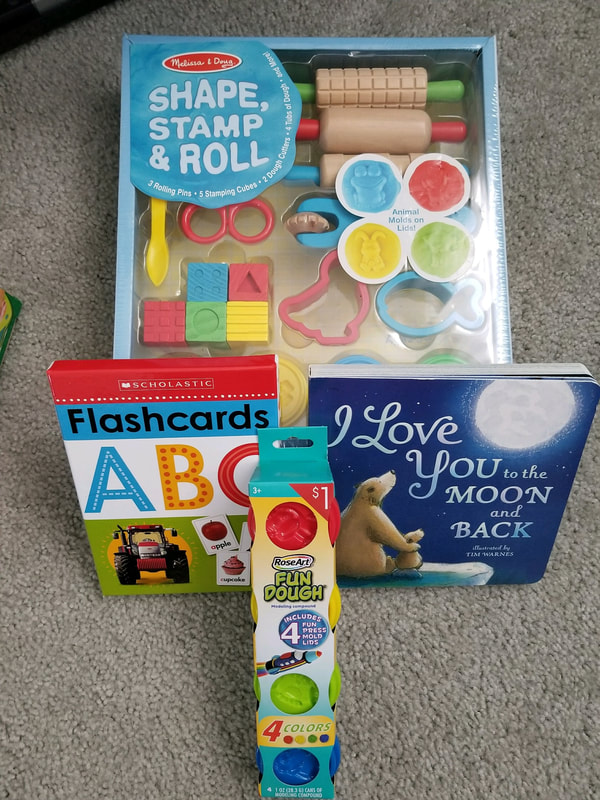
After Asher losing 85% of his toys, not only did he lose the toys but he has a very limited area for playing now. Things that we were able to save have to be stored in the garage because they will take up our whole bedroom! Not only did I feel Asher needed new toys but I created some structure to his play. I love this busy bin idea! Not only can it be for toddlers but how about those long car rides? When your children keep asking "Are we there yet, I'm bored"? Why not even create a bin just for long car rides. Maybe your a stay at home mom and feel like you are running out of ideas and are tired of playing cars or baby dolls. Why not add some structure and help your child learn without them even thinking it's "school work". Having a Baby? These are great toddler distractors for those situations when you have to care for the baby and your toddler needs something to do. The bins I created are geared towards a 19 month old. Asher is very advanced and loves to do crafts. You can gear these bins towards any age group and incorporate their favorite things! I love the Melissa & Doug products. I feel they help teach kids very important skills in life. For example the Latch Puzzle. Before I get started with showing you everything I added to my bins here are some awesome Target Tips that I used to make this whole process so much easier on myself! First I wrote down some general ideas as to what I wanted to put in each bin. I knew I was going to have to bring Asher with and the last thing I wanted to be doing is wondering around aimlessly at Target while my child is having a meltdown. I wanted to get in and get out fast! I used the Target app I have on my phone for these next few tips. Once I had my list of items I went on my Target app and typed in, for example, Melissa and Doug toys. About 800 or so items popped up on the screen. Um wow, that will take forever to go through. I clicked on the filter button at the top of the screen and filter to only show items that are in stores. I then selected my store. Wonderful! My results were now only 56. So much more manageable. So as I was going through the results list and jotting down on my list what I wanted, I noticed that Target even gives you the aisle number as to where that item is located! How amazing! I wrote down the aisle number and shopping today at Target could not have gone any smoother! I knew exactly what I wanted and exactly where to find it! Thank you Target for making mom's with toddlers lives a little less chaotic. Amber Petersheim is a participant in the Amazon Services LLC Associates Program, an affiliate advertising program designed to provide a means for sites to earn advertising fees by advertising and linking to amazon.com 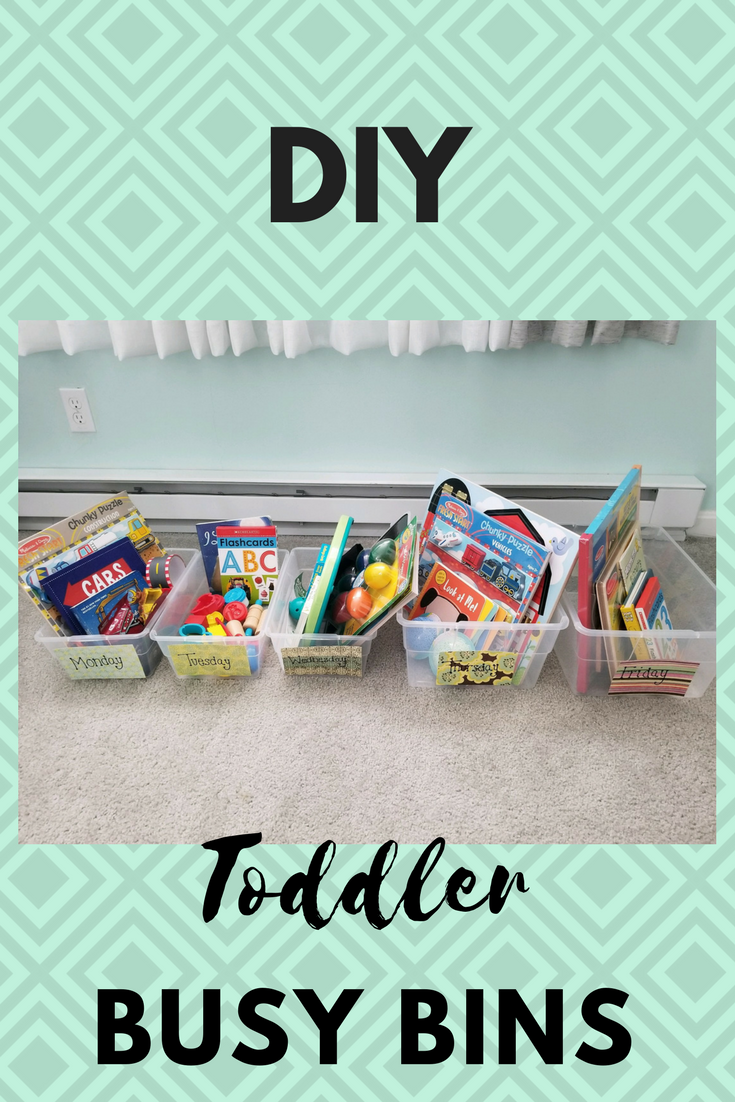
Monday's Bin:
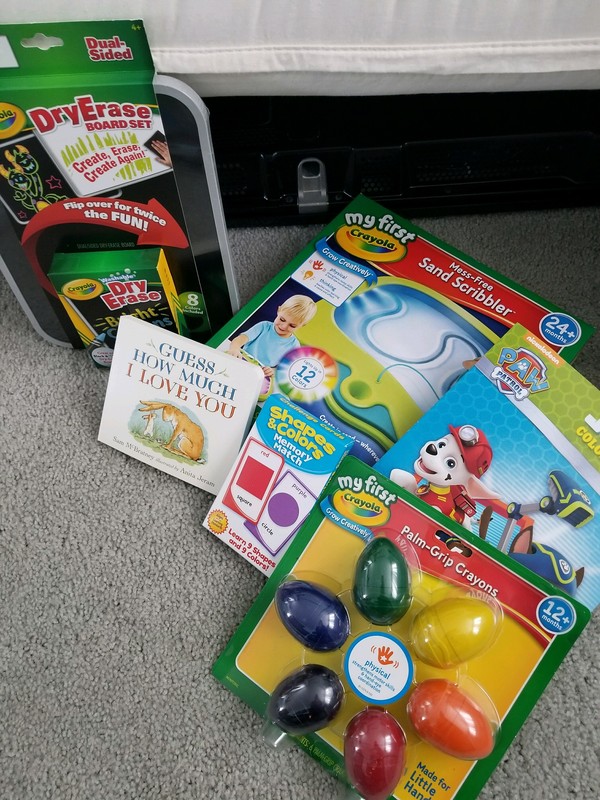
Tuesday's Bin:
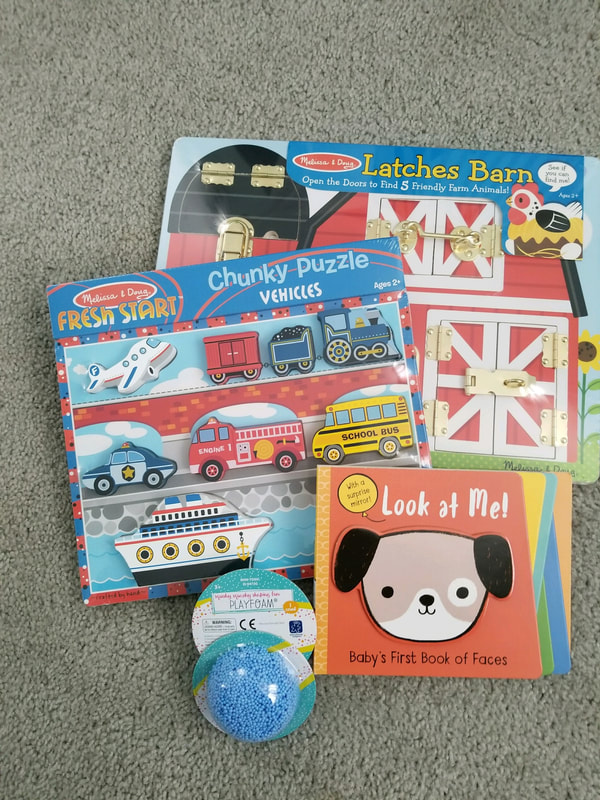
Wednesday's Bin:
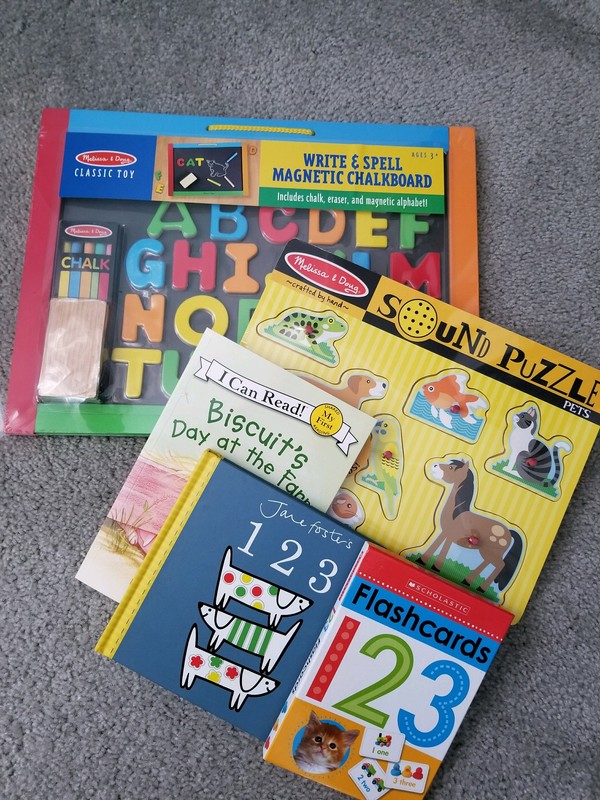
Thursday's Bin:
Friday's Bin:
I hope you enjoyed these ideas! All products were purchased at Target, including the bins. You can get most of the items on Amazon as well for more convenience! Nap time is when I found the time to assemble them!
I'm sure most of you have seen these all over facebook and pinterest. That is where I got the idea. I love doing seasonal/ holiday activites with Asher. This one was great because it was not messy and its a nice quiet activity.
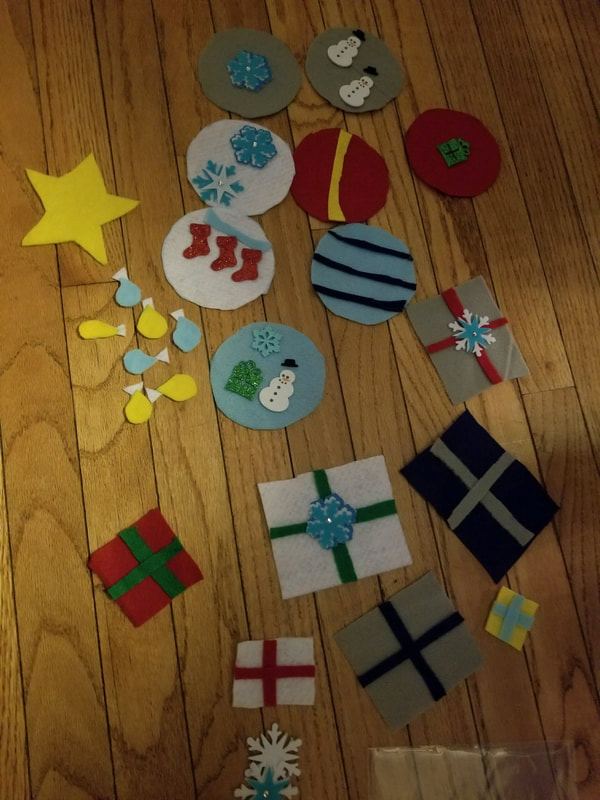
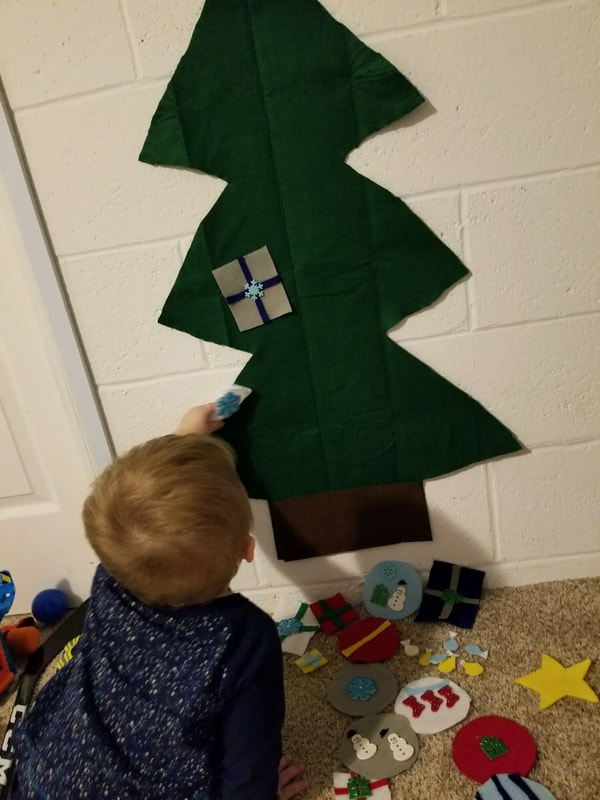
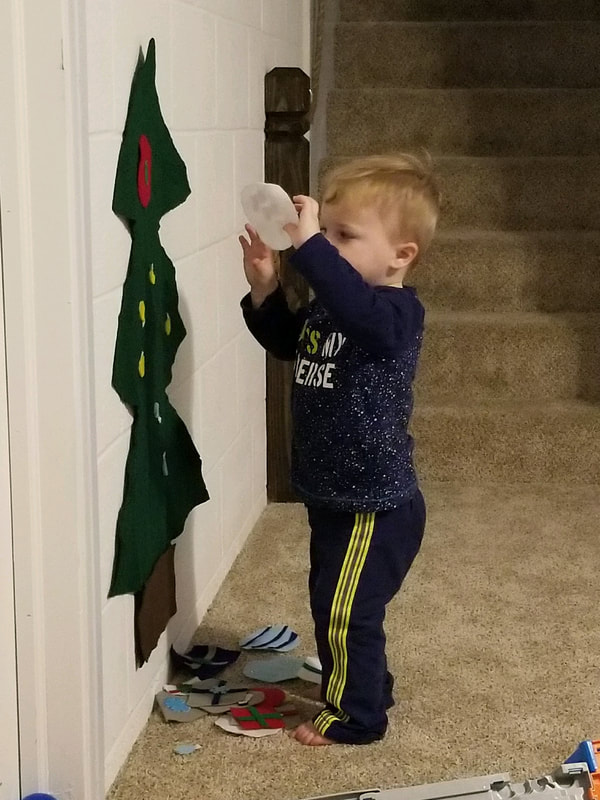
I never realized how creative I actually can be. Being Asher's mom has brought out a very different side of me. I guess it's the "mom" coming out lol! In school I hated doing projects. I was never creatve and really didn't care to be. Now with Asher that all I want to do! One trip to A.C. Moore and I had all my supplies Supplies: Hot glue gun Different colored felt Scissors At least 1 yard of green felt Stickers 1.To start I made ornaments. I used a cup and traced circles on different colors of felt. I also made presents. 2.I then made "lights". I drew the lights on a colored piece of felt. I then glued them to a white piece of felt and then cut out the light. 3.I decorated my ornaments and presents with felt and stickers. 4.I laid out my green felt and folded it in half. I then free hand drew my tree and cut it out. 5. I taped my tree to the playroom wall. Felt sticks to felt so nothing needed to attach the ornaments. 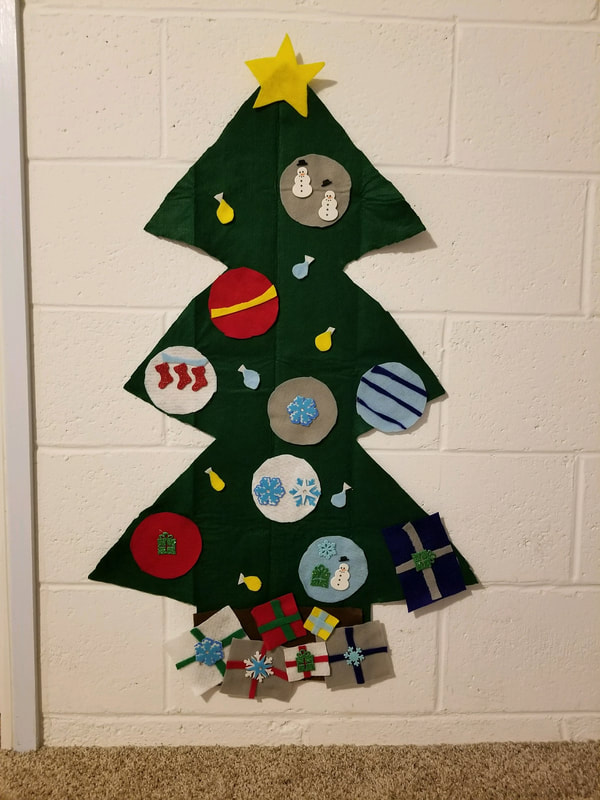
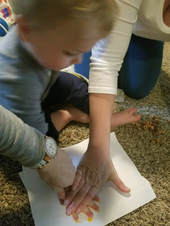
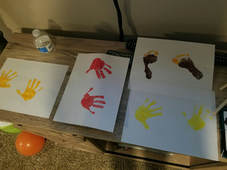
My Bestie & I plan to do these for every holiday. They are fun and a great keepsake. Asher's hands and feet only stay tiny for so long! I think the kiddos are getting used to these. At first they try to run, but they do give in and cooperate more! I'm sure once Asher understands he will not want any part of it. So might as well do as much as I can to keep him little! Here's our Christmas activity!
Things you will need: Canvas Puffy paint Acrylic paint Stickers Paint brushes For the one canvas we first painted the backround and let it dry. We stuck the kiddos hands/ feet in the paint and pressed them onto the canvas. Let everything dry. Add finishing details with puffy paint! 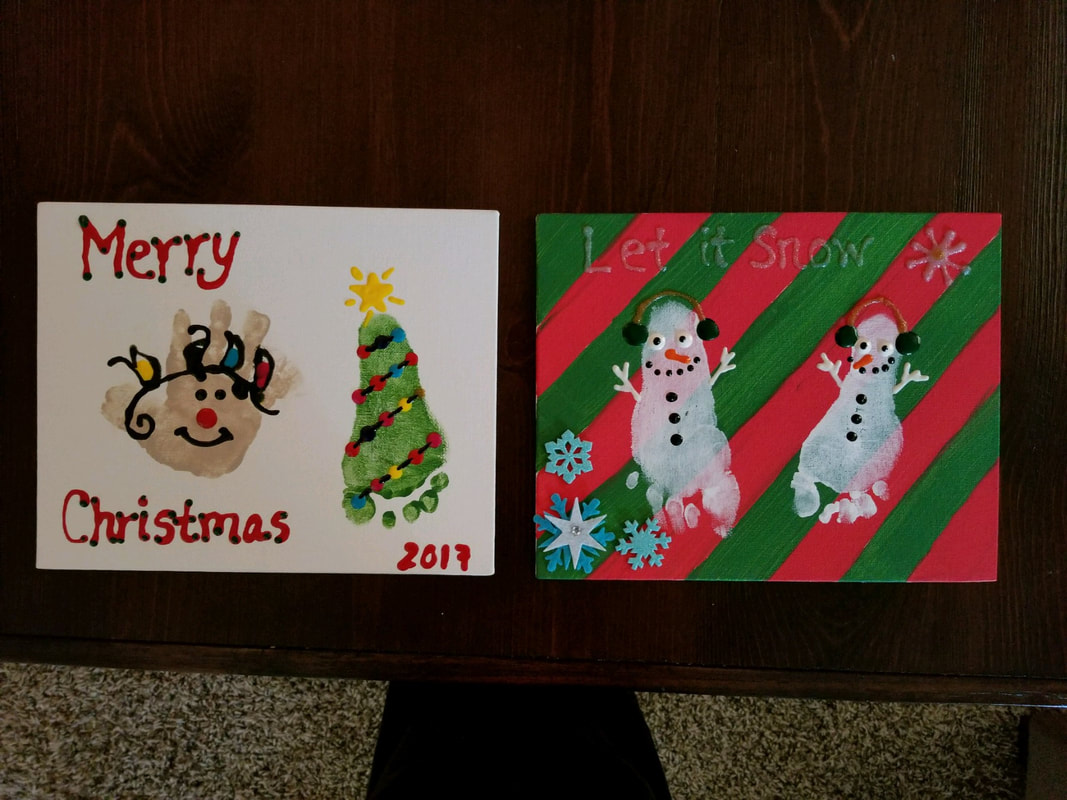
I was running out of things to keep Asher occupied. I thought, why not try a seasonal activity! I jumped on pinterest and immediately at the top of my home screen was Gingerbread Moon Sand. So I clicked on the picture so I could see what ingredients we would need. Perfect! I have everything on hand.
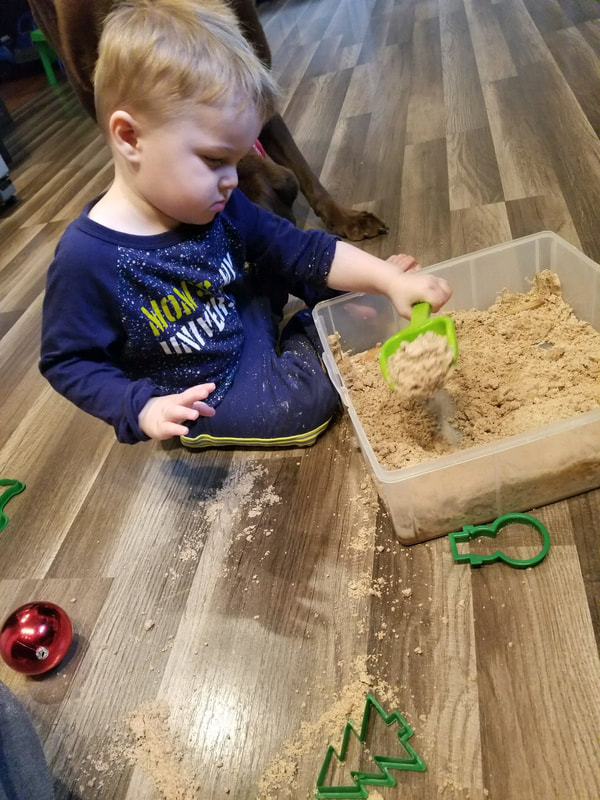
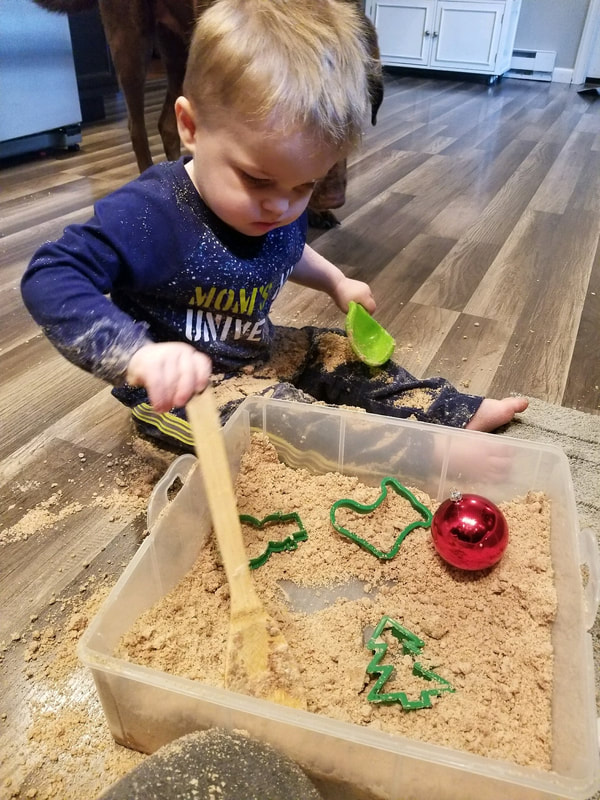
On the pinterest post it showed a little girl playing so nicely with this box full of moon sand. I know Asher loves sand, so this will be great! I made the moon sand in a big container for him. I was so excited as I added some cookie cutters, shatter proof ornaments, and a shovel. Asher immediately took to the moon sand. He ran over to the box and did not waste any time. Within 3 seconds my kitchen was covered in moon sand. EPIC FAIL! I should know better that my child would not be like the child in the pinterest post. I should have known he would not keep the sand in the box. I immediately started to panic as I sat and watched more and more of the sand ending up on the floor. I took a minute to watch my son shoveling this sand on himself and saw how happy he was. He was having a great time! He did not care the sand was not in the box. Asher then handed me a shovel and wanted mommy to play too. The sand was literally everywhere until we were done playing. And you know what, it was okay. Asher had a great time and that is all that mattered! I did have to take Asher up for a bath afterwards. Clean up of the kitchen was not as bad as I thought. I took a dust pan and broom to sweep up most of it. The vaccum then got the rest. Be prepared for a mess! Ingredients: 8 cups flour 1/2 cup cinnamon 1 TBSP nutmeg 2 TBSP ginger 2 cups oil Directions: Put flour and spices in a container. Then add oil. Stir until sand constiancty. 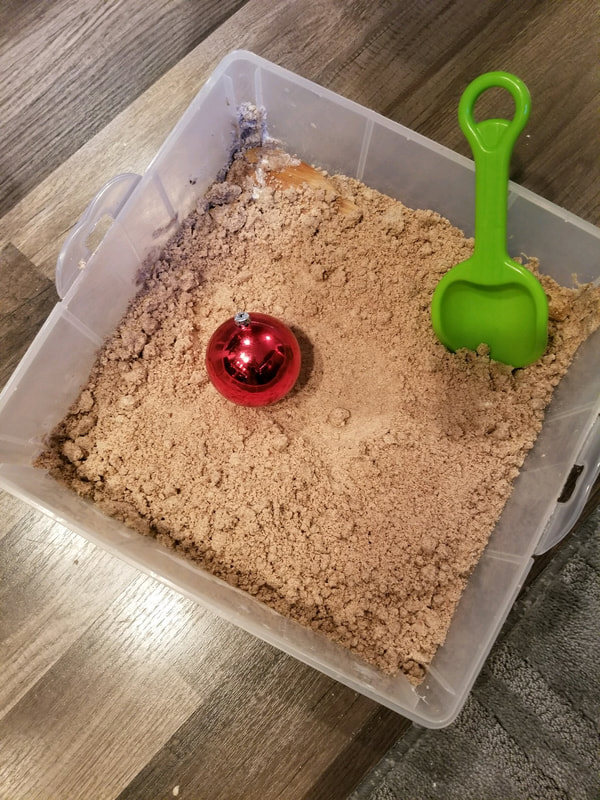
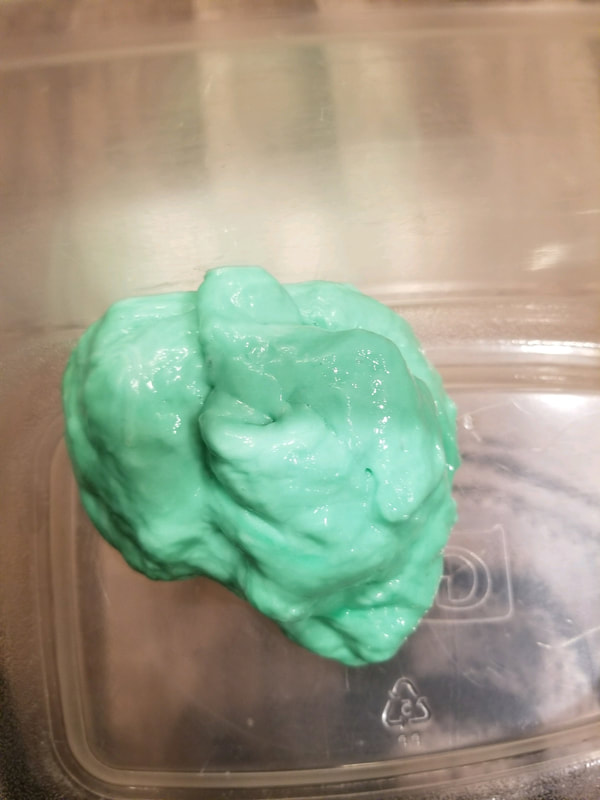
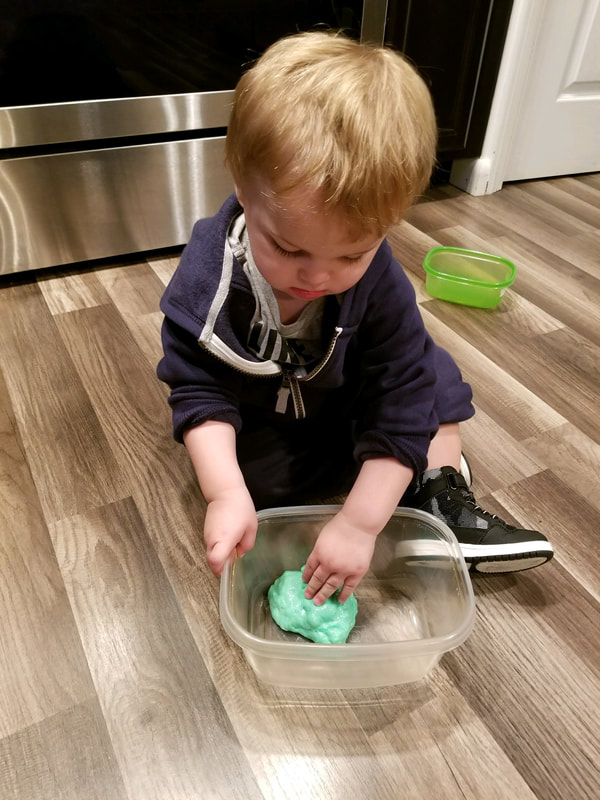
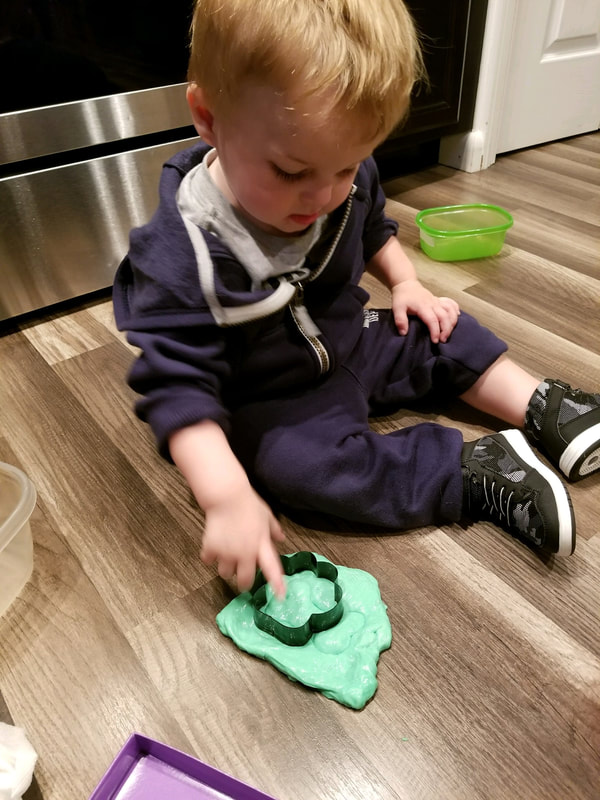
Today we made slime! It was very simple and kept Asher entertained for awhile. It was a great sensory activity. I let him use cookie cutters, rolling pin, and different containers and cups to play with his slime. What I loved about this slime is that while Asher was playing on the kitchen floor with this, there was NO MESS. The food coloring stayed in the slime and not on my floor. Easy clean up! The slime stayed together nicely! To Make Slime: 1 4oz white Elmer's school glue 1 TBSP baking soda 1TBSP contact solution Food coloring. To start empty the bottle of Elmer's glue in a bowl. Add the baking soda and mix. Next add a few drops of food coloring and mix. Last add the contact solution and mix. If slime is not forming and the mixture is still sticky add more contact solution until desired consistency.
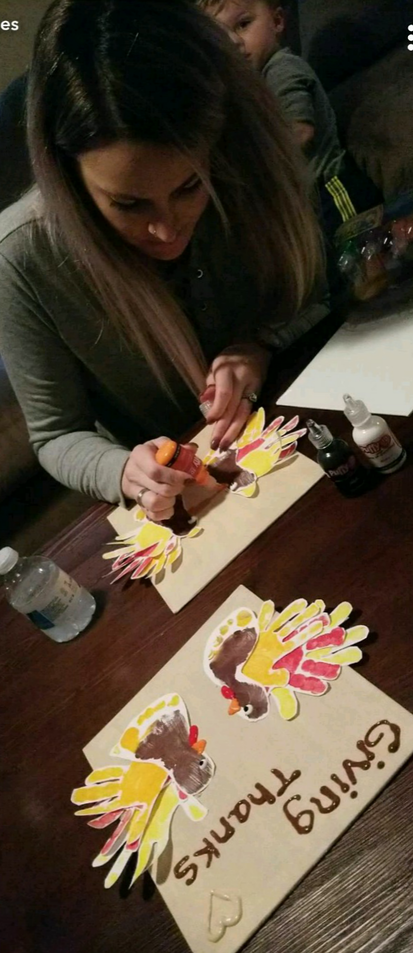
My bestie and I are at it again with the holiday crafts! For Thanksgiving we made turkeys with the kiddos! They really are troopers. Both our kids don't care to be messy and honestly they both rather be on the go then having to sit still. After a few hand prints Asher got the idea of what was going on and started helping us and enjoyed putting his messy hand on the paper!
What you will need: Canvas Acrylic Paint Paper Puffy paint Scissors Hot glue First we painted the canvas's and let them dry. We did all the hand prints and foot prints on paper and let them dry. We then cut out all the prints and arranged them on the canvas. We used hot glue to secure them. Then added the extra details with puffy paint! 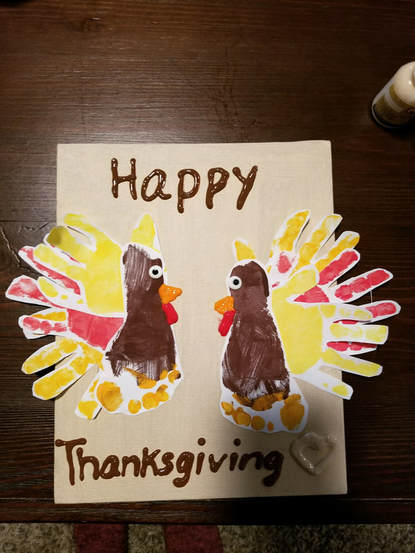
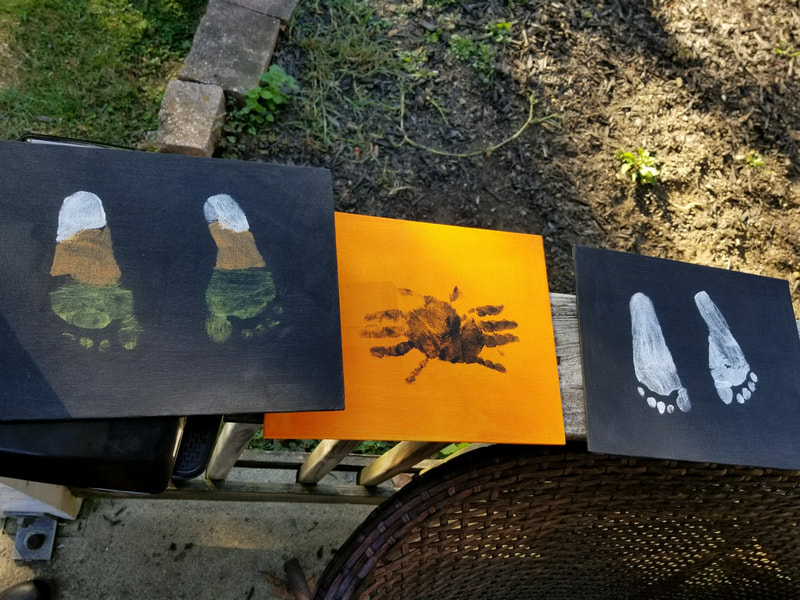
My bestie and I were on the same page with this one! Alot of the places Asher and I go or the activities we do involve our besties! Anyway, I had already thought about some Halloween crafts to do with Asher. I then recieved a text the next day of what my bestie was thinking!
So together, the 2 of us wrangeled 2 toddlers to make crafts. AND there was NOT even a huge paint mess! Go us! Seriously, as I always say, Asher does NOT sit still at all! Supples: 3 flat canvas Acyrlic Paint( we used white, black, orange, yellow) Foam paint brushes Regular paint brush Puffy paint First we painted the canvas's. 1 orange. 2 black. Let them dry. While one held a little toddler the other painted the bottom of their foot. We did the same for their hands as well. Once we had all the prints on the canvas we let them dry. We then added the finishing touches with the paint brush and also puffy paint! 
|
AuthorMomma of 2 Archives
February 2021
Categories
All
|
 RSS Feed
